
I just finished my large serving of our Thanksgiving feast and like clock-work my body knows it is time for Christmas decorating. After I pull my large collection of holiday totes from the attic, I pour myself a glass of wine and relish in my sea of Christmas decor. All the sparkling red, green, and gold ornaments shining back at me, my happy hefty little Santa’s smiling, patiently awaiting placement, and my matching stockings ready to line my mantle. Ahhhh, simply bliss. I strategically plan out where each and every one of my beloved decorations will be placed. I mean, who agrees that decorating your home for Christmas is an art form, right? This process takes time and creativity. I always save our family Christmas card that I create each year and I adore looking at each card from the previous years and watching how our family grows and changes but, have never been satisfied with finding a way to display them in my home. Every year when I get to my box of holiday cards, after I admire them, I get frustrated when I cannot figure out a way to display them to my liking….so I move on to the next box. NOT this year, I finally came up with a solution to my Christmas card chaos…..a holiday scrapbook. After a quick trip to my second home, Hobby Lobby, I had all the essentials to the perfect Christmas craft. I used our family Christmas card to create each page of my scrapbook and now every year is captured and displayed in a shiny little book on my coffee table. This holiday treat is now visible for all your family and friends to enjoy. Below I outline how I turned my Christmas card mess into Christmas card success! Happy crafting!

Step 1: Assemble the goods
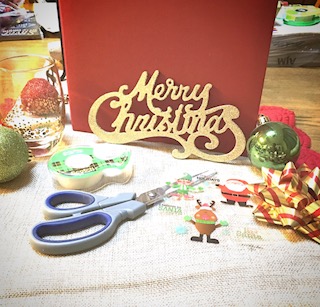
For this Christmas creation, you will need a scrapbook, festive scrapbook paper, embellishments, scissors, glue, and last but, not least your favorite glass of wine.
-I used an 8×8 scrapbook and have found this to be the perfect size to house my Christmas cards. Get festive when choosing your scrapbook. There are tons of options to choose from but, since my house is covered in various shades or red and green for the holidays, I chose a bright red scrapbook.
-Next, you will need holiday themed scrapbook paper. Unfortunately, I couldn’t find 8×8 sized paper so I purchased 8.5×11 and cut it down to 8×8. After doing so, I then had extra paper scraps that I used within my book to decorate. Again, get festive. There are hundreds of holiday themed paper choices. Use a different theme for each page such as, Santa’s, Reindeers, Snowmen, etc.
– Next you will need, embellishments. That’s right ladies, accessorize it up. Throw some stickers into your shopping cart. I chose anything with a sparkle to make my pages pop. I also ensured I got letters and numbers in order to spell our name and each year out in my book.
Step 2: Assemble your book
Organize your cards by year, starting with your first Christmas card. For each card make a page and make sure you label the year on it. Decorate the page to your liking. Repeat the process for each card and then place in chronological order in your book. Now, add to your living room and each year you can look and appreciate the growth of your family!
